1. Project Setup
From the command line terminal, run this command:
foo@bar:~$ rails new my-projects-api -d postgresql --api

create
      create  README.md
      create  Rakefile
      create  .ruby-version
      create  config.ru
      create  .gitignore
      create  .gitattributes
      create  Gemfile
         run  git init from "."
...
      run  bundle install
...
As you can see, some folders and files are created as well as some gems are installed. Now, move on to the project folder:
foo@bar:~$ cd my-projects-apiWe can proceed to update the file config/database.yml to properly set up the database for development by adding username and password to the default section as follows:
default: &default
  adapter: postgresql
  encoding: unicode
  # For details on connection pooling, see Rails configuration guide
  # https://guides.rubyonrails.org/configuring.html#database-pooling
  pool: <%= ENV.fetch("RAILS_MAX_THREADS") { 5 } %>
  # ================
  username: postgres
  password: postgres
  # ================

development:
  <<: *default
  database: my_projects_api_development
Go to the terminal and run this command:
foo@bar:$ rails db:create

Created database 'my_projects_api_development'
Created database 'my_projects_api_test'
Let's try now to run the app
foo@bar:$ rails serverYou should be able to see this page by accessing http://localhost:3000
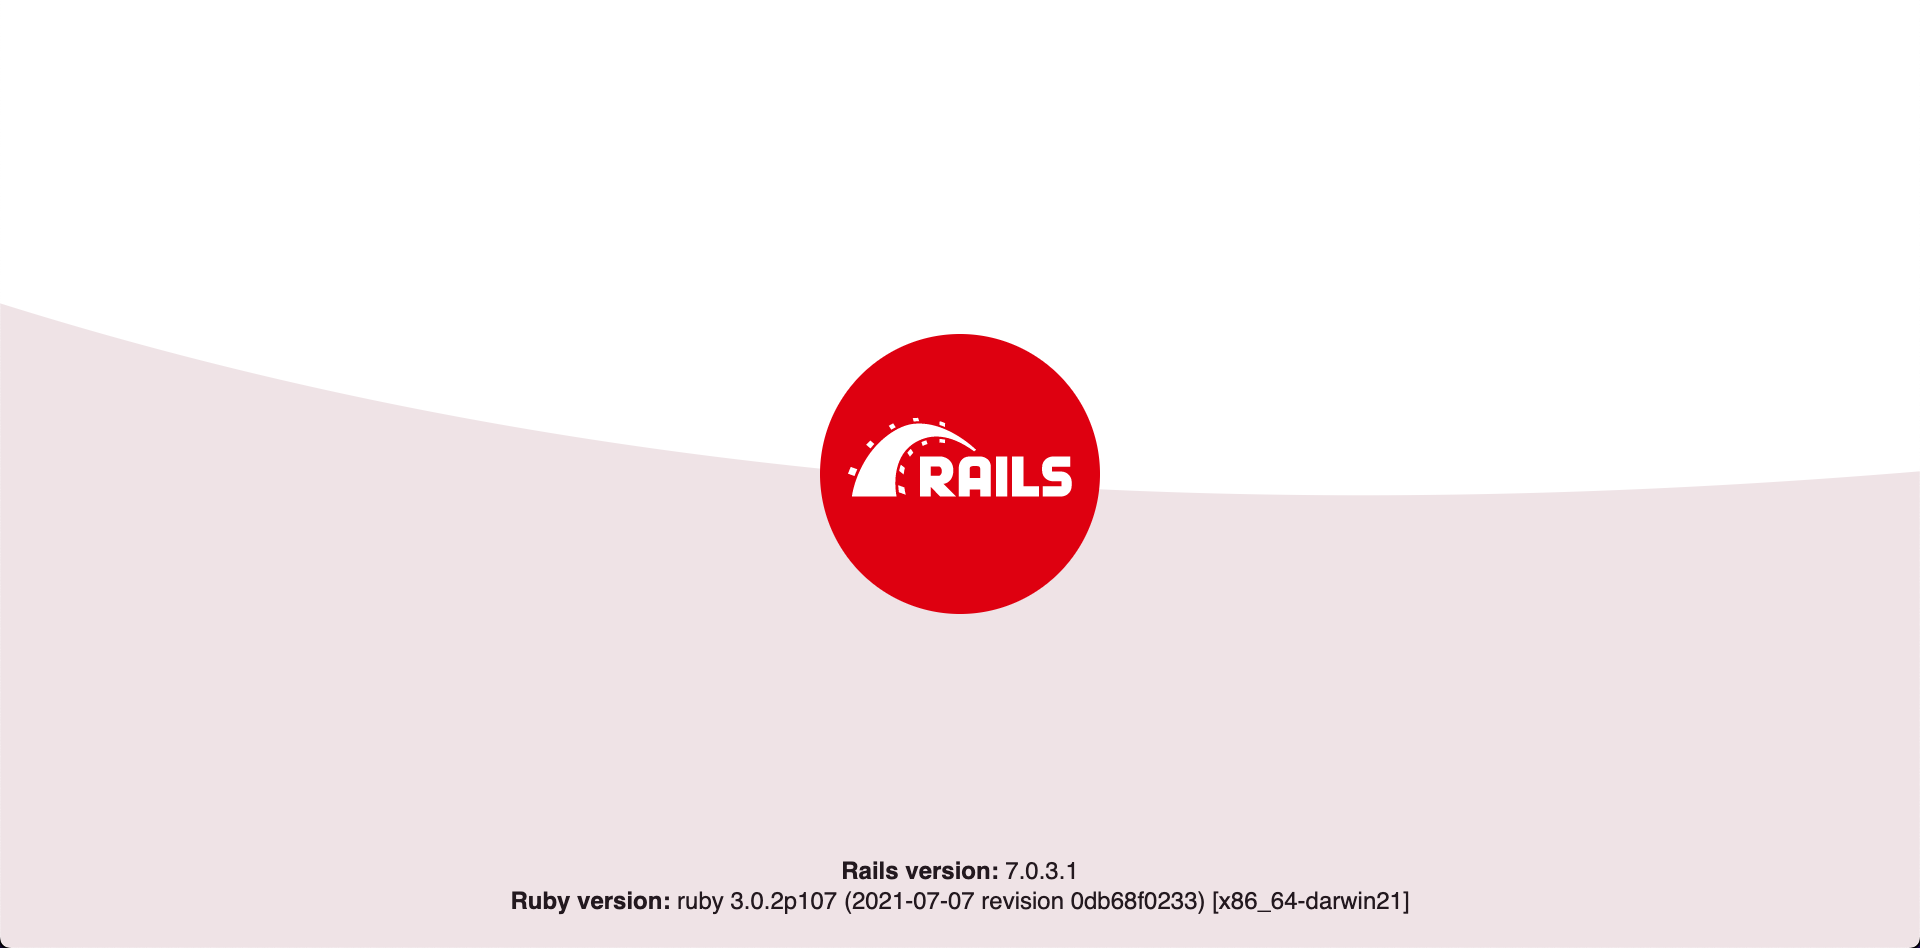
You are good to go!
